Another Point Collecting Mario Arrival Activity
The perfect arrival activity for any Mario theme is making and/or decorating coin collectors. It is not only a simple craft to prepare but it has the added bonus of being something the guests can actually use during the party.
You could make this as simple as decorating paper sacks to collect the coins in or go all out and make coin blocks for each guest to assemble or anything in between. Just be sure it is easy enough for them to carry around from game to game.
*If you decide to make coin blocks you can click here for a link to a free square box template or Google free square box templates for more.
*Click here for a the link to the coin collectors we made for our last Mario Party theme
We are preparing for a Mario Party 9 birthday party for my middle son's upcoming birthday. One of the small differences from the previous Mario Party games is that you collect stars instead of coins. So we will be decorating star collectors instead of coin collectors but the idea is still the same.
I decided to create star collector medallions for our guests to wear. Leftover star confetti will be used for the stars. Here is what the finished product looks like. After they are decorated they will have a hole punched in the top and yarn added so they can be worn like medals. Scroll down for a complete tutorial.

This is everything you need: glue, scissors, two objects for tracing circles, a pencil, and some sort of small container.

*I had these old Crystal Light containers saved up but I don't think they come in these type of containers any more. You could cut any other kind of small tubs like this, cut down dixie cups, the bottoms from Easter eggs would work but you'd probably need to use hot glue if you go that route. Keep your eye out for empty containers at stores. The empty containers I have from Pop Rocks eggs would work really well and provide more area to decorate. If I didn't already have plans for a game with them I would have used them.
Things you don't need but are pretty handy: labels and an ink pad
Now for the tutorial ...
The first thing I did was cut out the slot for the stars to go in.
Just pinch the container like so and cut to small parallel lines.
Then let the container go back to normal and make two small cuts
on each end of the other two lines making a small rectangle.
Don't worry about getting it perfect, just be sure it's big enough for the stars.


Next using an object just a bit larger then your container
trace out a circle for each star collector

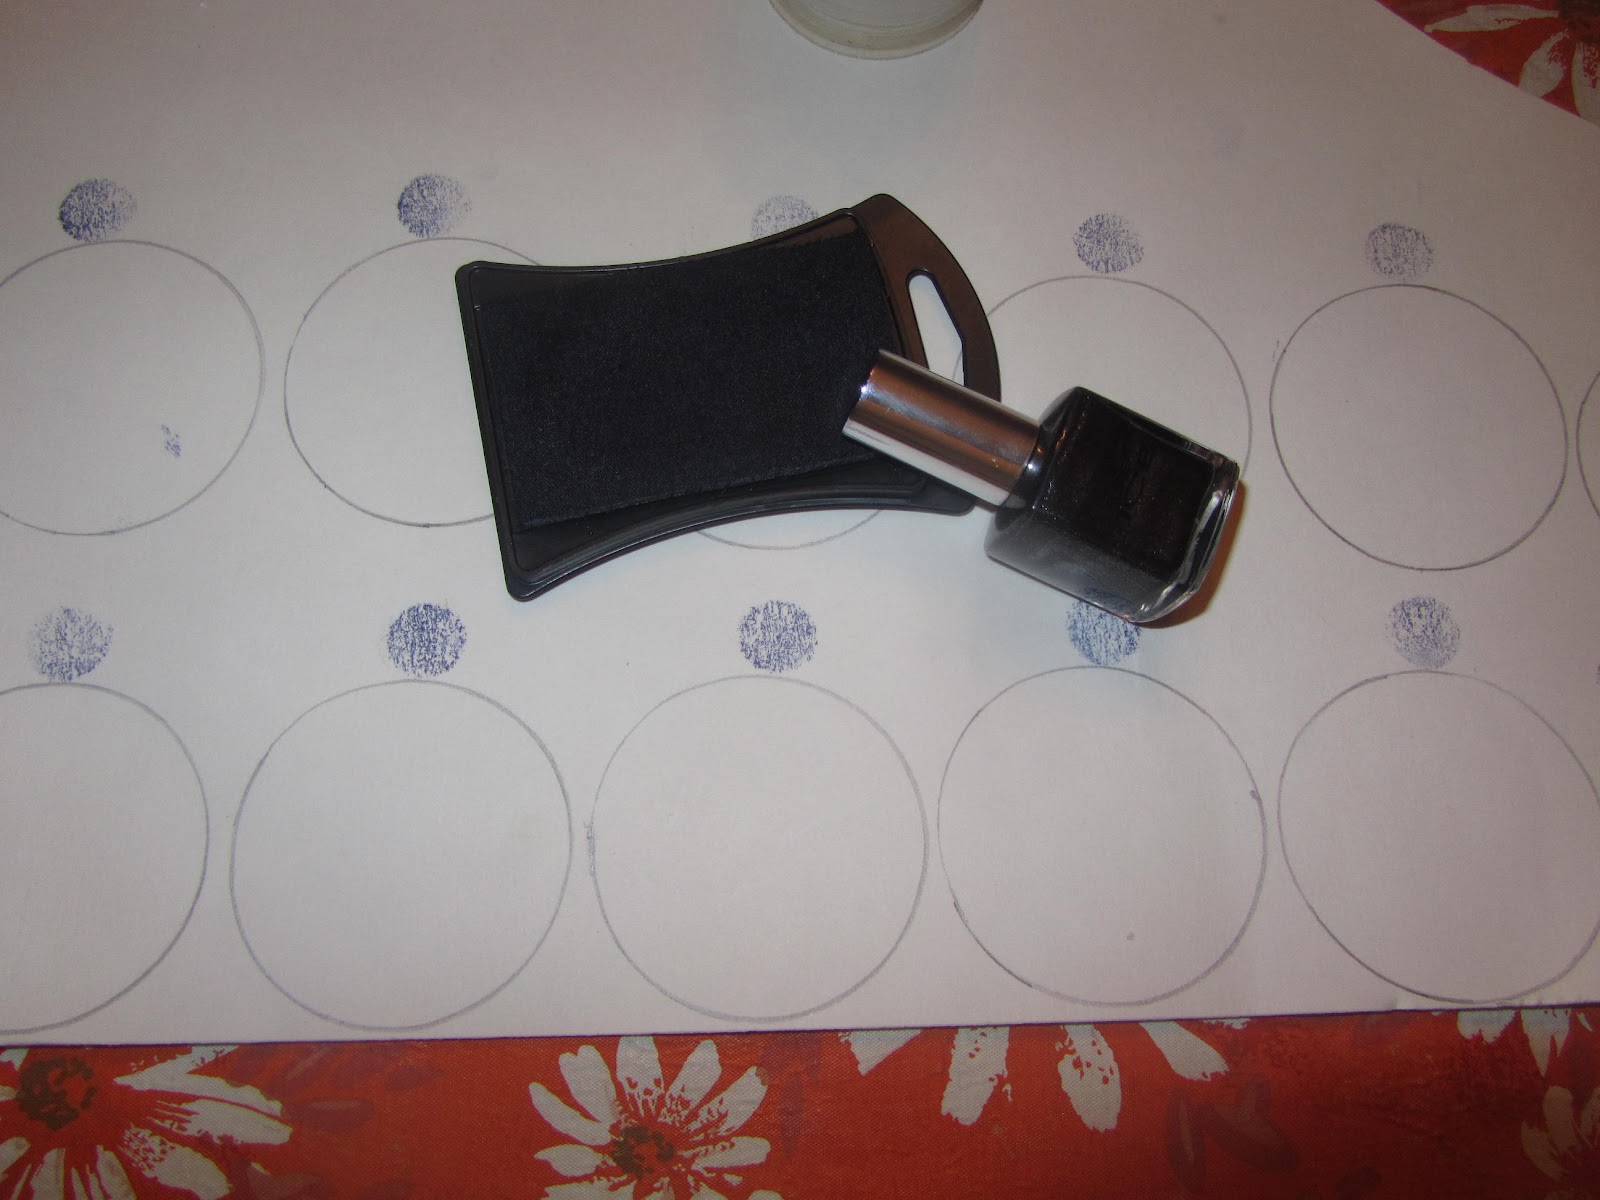
You can either trace your smaller object on top of the large circles
or make it easy and use an ink pad to just stamp the circle instead
Then put glue around the edge of your container

Put the containers face down in the center of your larger circles
Be sure the star slot is lined up with the top circle

Let them dry and then cut them out and that's about it

If you happen to already have labels you can add one
onto the bottom edge. If not just be sure to write names on them

That's all. They are ready to be decorated.
Then holes will be punched and yarn added and they
will be all ready to wear and collect stars.


1 comments:
i love these art and craft blogs that you post :) its truly a blessing to see such amazing content! keep it up sweety ;) i get alot of ideas from you and then i try some of them myself too.
Post a Comment