A great way to personalize drinks at your party is to make labels for individual sized drinks. A favorite amongst my children (and probably every other child I've ever met) are Little Hugs. You can find them at most grocery stores. I purchased mine on sale at Walmart for $2.89.
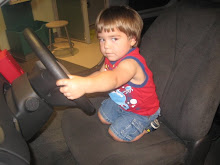
If you haven't seen them, here is what to look for -
Besides the fact that children love them, they are also a great way to prevent spills. When I buy them we poke a straw through the top instead of removing the lids.
Below are the Mario themed labels I made for our upcoming party. Feel free to print them out for yourself (print out as wallet size) or contact me if you'd like personalized labels for YOUR party.
*Scroll down after the labels to see how we Mario-ized our straws*
After labels are printed, cut out and glue onto each drink.
For the straws we added mustaches so that if you bend it just so as you drink it appears as if you have a mustache of your own. To make the mustaches I drew out one and then traced and cut out several more. I then folded each in half and cut two small lines to slip the straw through.
If you don't feel comfortable freehanding the mustaches, I did find this template that you could use. (You could also put double stick tape on the back of mustaches for your guests to wear or even create a pin the mustache on Mario game.)
I put my mustache straws in a small pot that I had painted green to be a pipe. Then I cut out Mario and Luigi faces and attatched to a k'nex toy in the middle of each one.
Items used and total cost of this project -
Little Hugs drinks - $2.89 Printed labels - $0 Glue - (already had) $0 Straws - (already had) $0 Black construction paper - (already had) $0 Small pots - (already had and fyi- from a thrift store for 10 cents!) $0 Paint - (already had) $0
As I said in an earlier post, the little ones love an arrival activity that they can use at the party. So for the upcoming Mario Party party at my house we will have coin collectors that guests can decorate as they arrive. These will be used to hold coins that are collected after each mini game. Below are photos along with a short tutorial.
**Note - You'll of course need coins to fill up the coin collectors. You can find plastic gold coins as well as both chocolate and gum gold coins at Oriental Trading Company. You can also make your own by painting any kind of circle you have in abundance with gold paint. Our gold coins are painted Bingo markers (which we can still use as Bingo markers after the party).**
After I printed out the coloring sheets I cut out each little item individually. Then I decided they needed to have a little container so I made little overalls.
For my overalls I first made a template with printer paper. First I folded the paper into quarters.
Then I folded one quarter in half and cut out the overall template.
Next I cut one of the quarters in half, folded, and cut a pocket template.
I traced the overalls and pocket templates onto blue construction paper and cut them out. Then I put glue around the sides and bottom of the pocket and put onto the overalls.
I added on "stitching" witha blue marker and then added two buttons. I was lucky enough to find little foam circles for buttons but you can just cut out small circles from yellow construction paper. Or if you happen to have a button stash, paint them yellow and glue on! When the overalls are complete, fill the pocket with Mario cutouts.
I also found pictures of all the Mario Party characters online and printed out one of each. They will be displayed so that each child can choose one. This is the character they will be during the games.
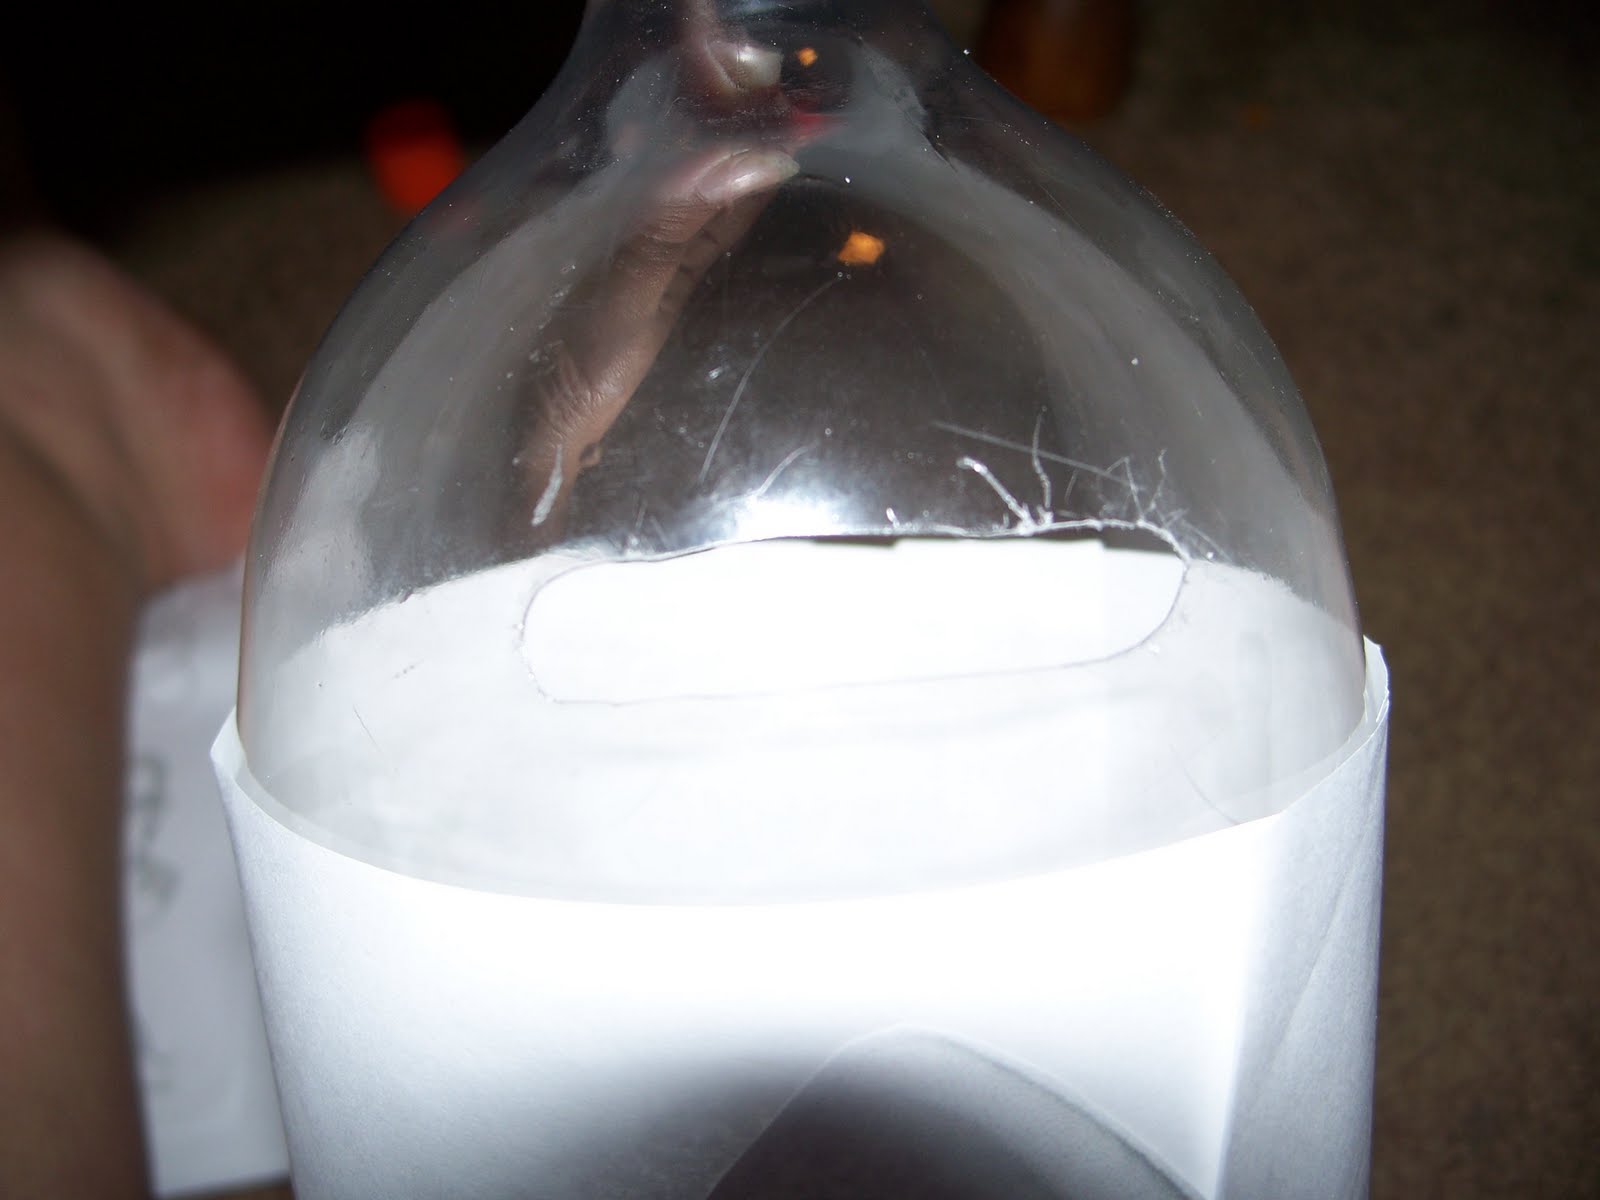
I covered 2 liter bottles with printer paper for the coin collectors.
The tops of the bottles can be painted different colors to represent teams. Just make sure you remove them first so the lid doesn't get painted on. They will need to remove the lids later to retrieve their coins.
To cut the hole for the coins I removed the lid and squeezed one side of the bottle. Then I poked a hole through with a nail, then cut out a kind of oval shape with scissors. I saved the cutout piece from the first bottle as a template for the rest.
Here is one of my birthday boys' decorated coin collector.
Items Used and Total Cost of this activity -
Coloring sheets printed from internet - $0 Construction paper - (already had) $0 Foam circles - (already had) $0 2 liter bottles - (already had) $0 Printer papter - (already had) $0
Awhile back I saw mention of a game called Pabitin. I looked it up and immediately wrote it down in my birthday notebook.
(*Side Note - It is so helpful to keep a notebook for jotting down birthday party ideas as they come. I like to use a very small notebook so I can carry it in my purse. Also keep a "birthday" folder in your favorites to keep track of any birthday party related links that you find)
According to Wikipedia - "A Pabitin is a square trellis where goodies (candies, fruits, small trinkets, etc.) are hung by strings. This trellis is, in turn, tied to a rope and is suspended on a strong branch or pole. The children then gather under the trellis and they jump as high as they can to try to pick the goodies as the trellis is slowly lowered to them while someone jerks it up and down repeatedly until all the goodies are gone." It is commonly played during Flores de Mayo. "Flores de Mayo is a Catholic festival held in the Philippines in the month of May."
Doesn't that sound fun? The best part is that it could work with absolutely any theme. But of course as for me, it is all about Super Mario this month. Below is the party game I made inspired by Pabitin and yet another Mario Party mini game.
Now for a video of the original mini game followed by a how to on the party game version.
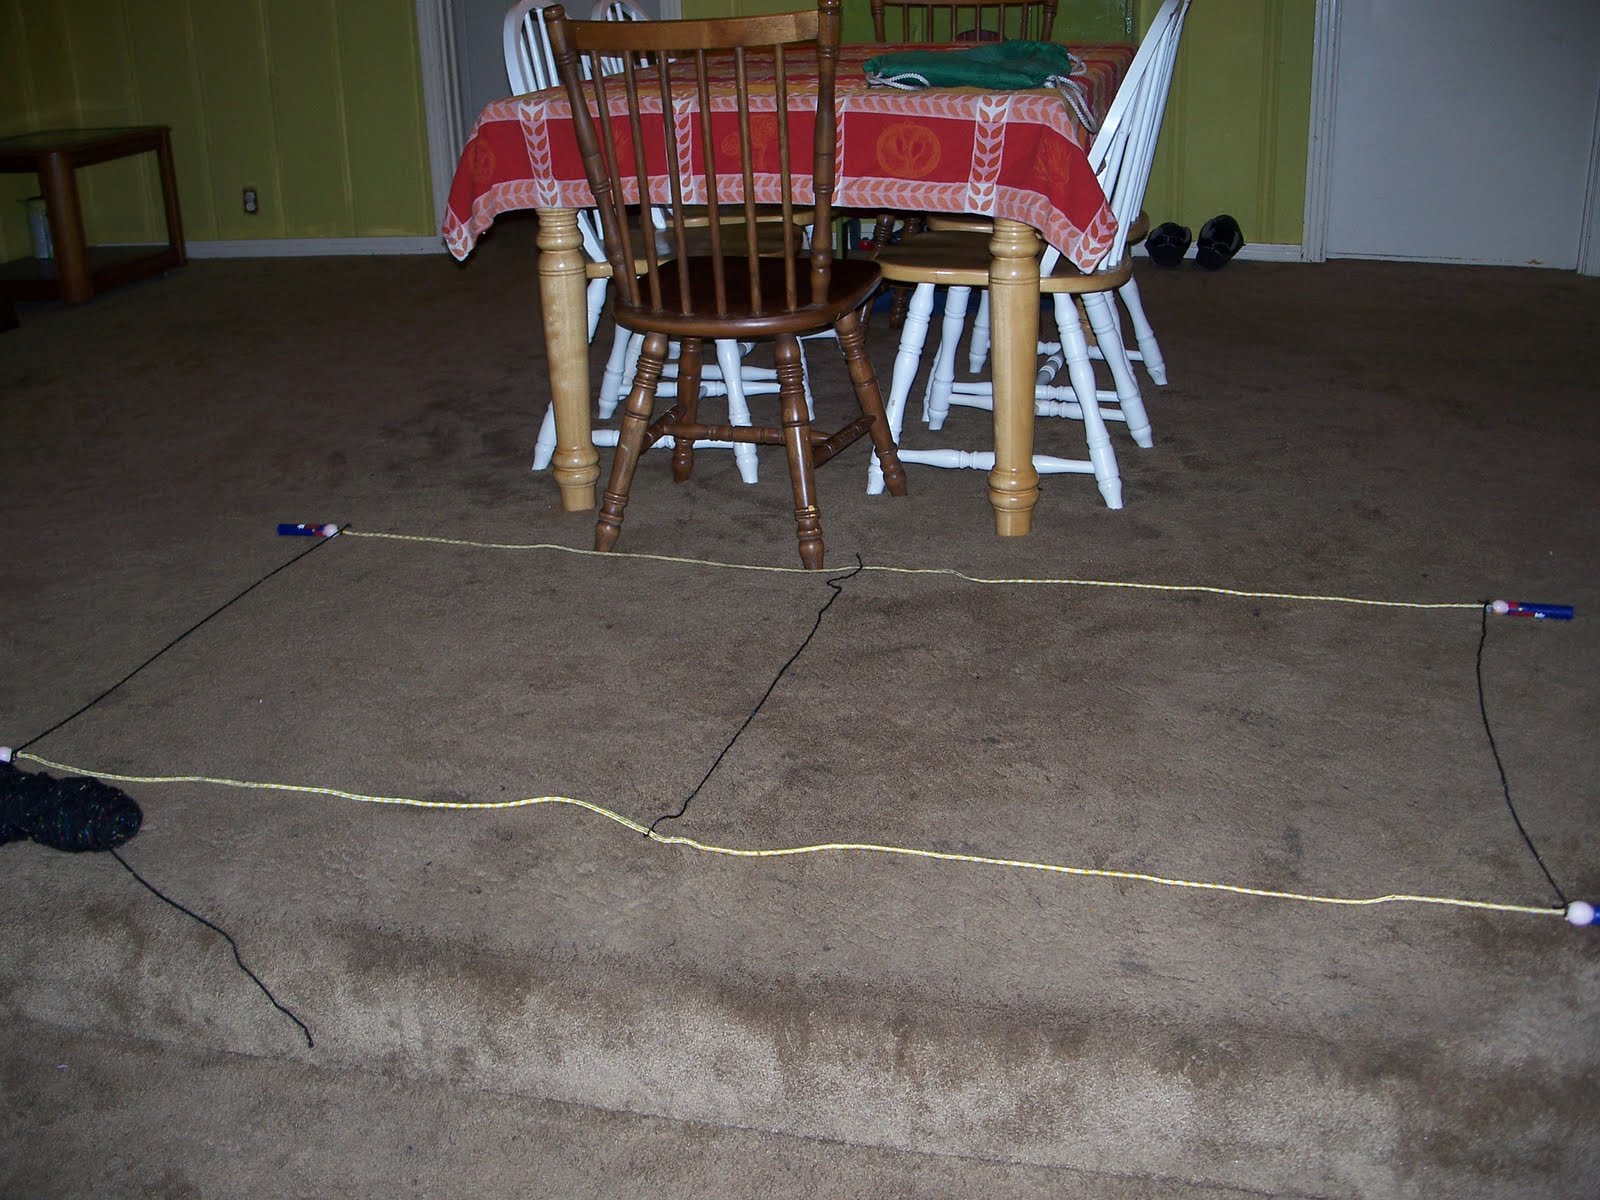
From what I've read, normally bamboo is used to make the trellis. I thought I would buy some cheap wooden dowels but then I happened across these two jumping ropes in my shed. The handles were bumbleebees. I cut off the antennaes and painted them to look like Mario and Luigi. The first step in making the game was to lay them down on the floor.
I used yarn to make the rest of the trellis. I cut out three pieces long enough to tie from one jumping rope to the other across from it.
Then I tied them from one rope across to the other
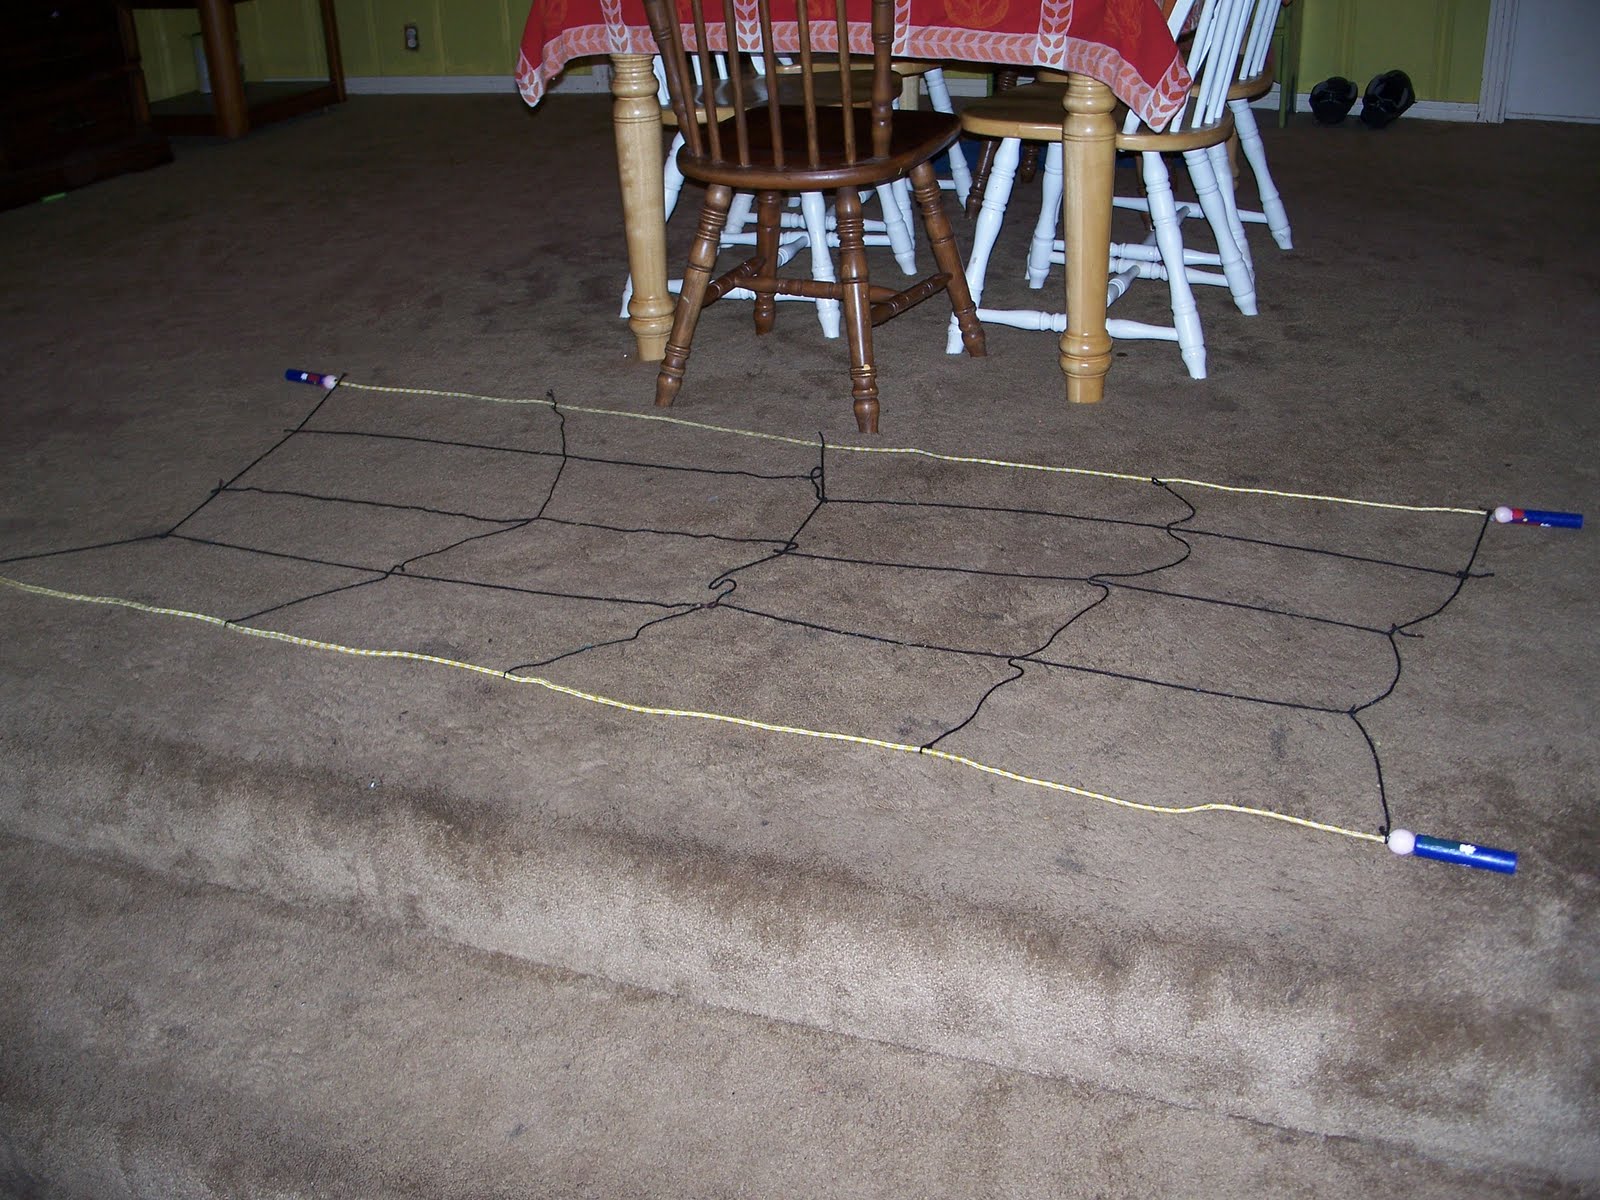
Then I added three across. I didn't cut these first. I just tied as I went and then cut at the end.
Here is the completed "trellis"
I measured 24 shorter pieces of yarn from my fingertips to my elbow and tied them in the center of each section.
I made 24 cards with different point values. They were made by folding printer paper into 8 sections and drawn with colored pencils. I used the Mario Party instruction booklet for ideas.
A hole puncher would definitely come in handy but I just poked scissors into the top of each and turned to make a hole. They were then tied on to each of the 24 short strings.
Here they are all tied on
I then cut out 4 each of 6 different colors of leftover and garage sale streamers. I tied them on somewhat randomly but did try to make somewhat of a color pattern.
This will be held up higher (my two boys are holding it in the photo)and moved up and down as the children go under and grab cards. We will then count up all the + cards for each team and place that many coins in their team's container. Then the - cards will be added and coins will be removed. Whichever team is left with the most coins is the winner.
My children are little party planners in the making. We have birthday party planning meetings when one of their birthdays is coming up. I wasn't too surprised when as I sat working on an invitation for my middle son's upcoming birthday he announced that he wanted to make it himself.
So step by step, we made the invitation together with him having final say on everything. In the process he came up with I think a really neat idea that I wanted to share, hidden pictures in the invitation. Here it is -
If you already use a paint program to make your invitations, it's very easy, just use the tube tool and add pictures to your main photo and copy each into a list below it. If not, I do happen to know someone that can do it for you :)
Time for another Mario Party mini game party game! (What a mouthful!)
In this particular game each team gathers up Goombas and dips them in their team's paint color. Whichever team paints the most Goombas wins.
If you're not having a Mario Party theme, think about changing this game to fit your own theme. I think this would be a great Alice in Wonderland game - Painting the Roses Red! Instead of painting them different colors you could have them already be different colors and see who can paint all their roses red first.
Below is a video of the original mini game, Paint Misbehavin' followed by a how-to on the party game version.
Now the Paint Misbehavin' party game -
When I thought about making goombas the first thing that popped into my mind was gumdrops. See the resemblence?
The first step in turning the gumdrops into goombas was to paint them brown. It took two coats and yes it was sticky.
Next I added on the whites of the eyes and the teeth (fangs?)
Then eyebrows and mouths were added. This was a bit of a tedious process but so worth it when I saw the look on the birthday boys' faces.
Toothpicks were stuck low on the back of the finished goombas so the children won't get paint on themselves.
These goombas will be scattered in a sectioned off area of the yard. In each corner of the area will be a plastic bowl of paint with an empty egg carton next to it. The first team to fill their egg carton with painted goombas wins the game.
Today I need to get the Wiggles out. I hope it helps someone! If it does, please let me know. I'd love to hear from you :)
Decorations:
On one wall hang blue streamers down low looping them down to be waves. Above them hang up Wiggles characters, colored, and cut out of posterboard. Include a wiggly version of your child and put up a sign that says "_______'s Underwater Big Band". In empty spaces around the characters add little fish, crabs, etc. Here is a good oppurtunity to get your child involved. They will love seeing things they made hanging up for all to see. Put more wave streamers above the characters and fish and you have your Underwater Big Band.
Draw out a big tv shape and draw Captain Feathersword on it. Then draw a word bubble that says "It's a storm of cupcakes, followed by ice cream clouds" or something along those lines. Hang the tv on the wall and hang paper cupcakes, ice cream scoops, etc down from the ceiling in front of it. This will work great haning over a doorway.
Dora the door from posterboard would be a great welcome hanging on your front door.
The Table -
For your tablecloth buy a light colored plastic tablecloth or buy the cheapest fabric you can find. Then with red, blue, yellow, and purple paint help your child do handprints all over it. Write Anthony's name next to the blue handprints with a blue marker, etc.
For the centerpiece decorate a box like a treasure chest. Stuff bunched up paper, blankets, anything, into the bottom as filler and add whatever wiggles toys you may have on top. Another idea is to put your goody bags in the treasure chest and tie ribbons from each. Tie the ends around your napkins at each place setting.
Cups - Green Cups with yellow construction paper spots gluesticked on become Dorothy cups, or you can do the Wiggle logo, or even little pictures of the wiggles themselves. Here is a good time to use up your cup stash if you have one, maybe a couple of Anthony cups on your leftover blue and Murray on your leftover red
Plates - Buy clear plates and make them match your tablecloth by making handprints on the underside. You could also do different colored music notes. Or if you happen upon really cheap dog bowls add on "Wags" with a paint marker. If your child is a big Wags fan you could do a doggy bowl just for them.
Silverware - Hot glue feathers (found in the craft section of Walmart,etc) on the end of your silverware to make "Featherswords"
Napkins - Use multi-colored or any solid color napkins and slip your featherswords into Big Red Car napkin rings
Here are a couple themes with multi-colored napkin options over at Birthday Party Express -
Games - First, the basics (Note-If you need any further explanation on these games, visit the Basic Games section-
Pin the Tail on Dorothy or Pin the Tail on Wags - Draw or print out wags or Dorothy, leave off the tail or draw dashed lines over it. Trace the tail and make multiple copies to be pinned (taped) on. To save time, put doublestick tape (or rolled over scotch tape) on the backs of tails with guests names written on them and lightly stick on the wall next to Dorothy or Wags before the party.
Find Dorothy's Roses, Wag's Bones, Anthony's Tools, Murray's Music Notes, Big Red Car's Wheels - Use what you have (toy tools, dog treat bones, etc) or draw or print out your item and hide in your house or yard. If you do roses you could lead it into your cake by having them put all the roses into a big bowl, adding a couple other things, mix it all up, and having them close their eyes and count down. Replace the roses, etc with red punch while their eyes are closed. Then "How about some cake to go with our tea!"
Throw the Bones in Wag's Dog House - Paint a box brown with darker brown stripes, add a door and Wags' name. Tape a big red paper triangle to the top. Take turns throwing in bones.
Matching Music Notes - Cut cards from yellow construction paper (only because it is light enough to see drawing on, any light color will do). Make them as big or little as you want depending on the number of guests you're having and their ages. Draw the outline of a music note on each card. Then add patterns to each musical note or have your child add the patterns if he/she is old enough. Have two with blue stripes, two with red polka dots, etc.
Musical Fruit - Cut out large circles or squares and draw different fruits on them. Place on the floor and play like musical chairs using "Fruit Salad" for your song of course.
Those are the basics, now here a couple of extras.
First of all, let's just state the obvious, Wiggles are all about music. Leading your guests in your child's favorite Wiggles song would be a great (and oh so easy!) game. Maybe play this game to lead into it -
Have an aunt, uncle, older cousin, family friend, anyone that is willing sneak off during the party and change into black pants and purple shirt. In a designated spot hang up a word bubble with "Zzzzz". At your signal "Jeff" can go lay down below the word bubble. Lead your guests in the "Going on a Bear Hunt" song. Just change the beginning part to "Gonna Wake Jeff Up" . Here's lyrics if you don't know it - http://www.timmyabell.com/music/lyrics/ol/bearhunt.htm I like a good segway and this game is a great segway. Jeff can yell out "Oh! I fell asleep. And I'm hungry, let's go eat cake!" or let's open presents, let's sing a song, etc. If you want to make it a little more interesting you can make a Jeff dummy and tuck away off in a corner but visible to your guests before the party and have your "real Jeff" take it's place later on.
Classic Hot Potato would turn Wiggly with Wiggles own Hot Potato song playing.
Feel Box - You've all seen these boxes at Halloween events. Cut out holes in several boxes. The children get to stick their hands in and feel different things. The object in the Halloween version is to pretend everything is something far grosser then it really is (peeled grapes=eyeballs for instance). In your Wiggles version you can either let them try to guess what each item is or just feel for the fun of feeling. Some things to include are - potato, cold spaghetti, mashed banana, wag's bones, roses, and tools.
Make Fruit Salad - Draw and cut out bowl shapes for each guest. On each bowl draw one of each fruit for fruit salad or if you have a lot to make you can just draw the correct amount of x's. Cut out one of each fruit for each guest. If you want to save time you may want to just purchase some Runts candy. Put each fruit in its own container. Immediately before the game, smear over the fruits or x's on the bowls and pass one out to each guest. Turn on the music, "Fruit Salad" of course, and have them pass the bowls around as the music plays. When the music stops, anyone with a fruit adds it to their own bowl. The first one with all the fruits wins. You can play till everyone wins.
I leave you with this video of a Big Red Car cake tutorial (for more cake ideas click here) -
Here is another party game based on a Mario Party mini game. This particular game would also work great for a monkey or jungle theme. It is also a bit of a spinoff from a Basic Game (Find Something) that could easily be changed up to fit any theme.
In our party game version, the guests will chase little paper baby monkeys being blown around by a fan and place them in the matching mama monkey's basket. If monkeys don't fit your theme, just change to any other animal or object. I think it would be particularly cute changed into a dinosaur theme with nests of empty eggs instead of baskets to return baby dinos to. Here is a video of the Mario Party mini game (Chimp Chase) followed by a how to on our party game-
First I printed out Latiku capsules (in black and white and draft mode)
Then I colored them in with marker and cut them out
Next I drew a mama monkey
I cut out the monkeys in four colors and added faces (cut from manila paper, and drawn with marker by my two older boys) and marker detail
Then I cut out four baskets from brown construction paper, folding the paper in half and cutting out as you would a paper heart.
Then I cut out "insides" for the baskets and my son drew on x's, one for each baby monkey
Glued on the inside part and added marker detail to the basket
The monkeys will be taped up with the baskets hanging from their tails. Immediately before the game I will cover the x's with gluestick. The baby chimps will be poured out and the fan will be pointed at them to make them scatter around. The children chase after them and grab the monkeys of their color and stick onto their team's basket. The first team to return all their baby chimps to their mamas is the winner.
Material used and total cost of this game:
Construction paper (already had) - $0 Printed latiku capsules - $0 Markers (already had) - $0 Gluestick (already had) - $0 Fan (borrowed) - $0